By Dr Anthony Caiafa
The Case
Tyco, a 6-year-old male 34kg German Shepherd, was presented to our emergency animal clinic with a traumatic maxillary jaw fracture. The animal emergency was caused by a mechanical excavator digging a hole at the time. According to eyewitnesses, Tyco jumped in front of the excavator, getting hit on the right side of his face.
The Diagnosis
Our emergency veterinarian team diagnosed Tyco with a depressed fracture of the right side maxilla involving the incisive, maxilla, lacrimal and frontal bones. The maxilla and the teeth were also displaced medially with a hard palate fracture. The right maxillary canine (104) was also displaced labially (lateral luxation). There were complicated crown fractures involving the right maxillary 2nd premolar tooth (106) and the right mandibular 3rd incisor tooth (403). There was also a significant laceration to his lower lip on that side. A neurological examination revealed no abnormalities; the right eye was functioning normally, and Tyco appeared to be able to see.
Once the emergency veterinarian team stabilised Tyco and administered pain relief, I performed a conscious examination on Tyco. Tyco had suffered a traumatic malocclusion with his right side maxillary teeth, distal to his 1st premolar tooth to his last molar teeth, being displaced medially (palatally). The maxillary occlusal arch now was medial to the mandibular teeth, and Tyco could not close his mouth due to this displacement. There was also puckering of his hard palate mucosa, which indicated significant fractures through the maxilla and vomer.

The Treatment
In the emergency animal clinic, we decided to use a technique I have used before on a similar maxillary fracture. This technique firstly entailed performing a CT scan to assess the multiple fractures and whether there were any other injuries involving the head and neck area.
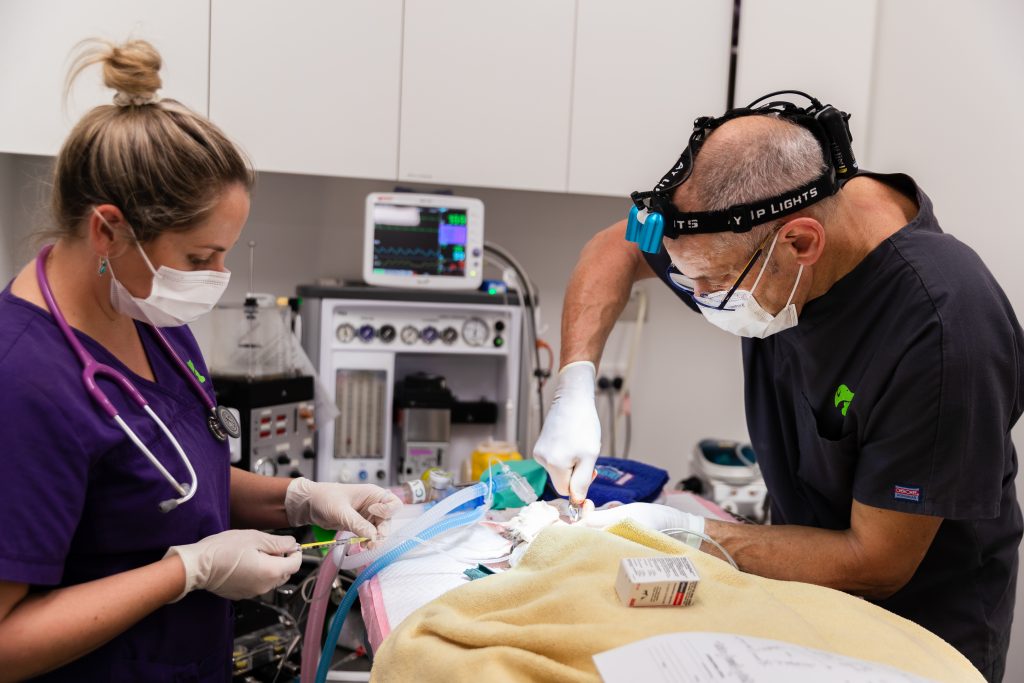
Tyco was then moved to the dental procedure room. A complete oral examination was performed, including assessing temporomandibular joint function and assessing for any other tooth fractures on both sides. The right maxillary canine appeared to have intact apical alveolar bone but with an incisive bone fracture extending to the hard palate. The CT imaging showed that the canine tooth still had intact alveolar bone at the apex of this tooth, and this suggested that the tooth still had vital pulp tissue. A bilateral caudal maxillary nerve block (Lignocaine HCl) was given to Tyco, and the laceration on the chin was cleaned and sutured. I also extracted teeth 106 and 403.
The next step was to decompress the maxillary fracture. Two large Gelpi retractors were used across the hard palate using the furcation area of the premolar teeth on both sides as anchorage points. The Gelpi retractors were then opened up to move the fracture back into a somewhat normal anatomical position. This did take some effort, but finally, the right side occlusion appeared to be in the correct alignment.
I then raised mucoperiosteal flaps exposing the roots and the alveolar bone surrounding the maxillary 4th premolar teeth (108 and 208). A 3.2mm threaded stainless steel pin was then placed from the left side between the mesial and distal roots of tooth 208 and directed with visual guidance towards the bone between the mesial and distal roots of tooth 108 (trans-maxillary pin). We would typically use a universal aiming device to guide the pin, but it was not available, so the pin was directed visually.
The pin is directed at mid-root height between mesial and distal roots of maxillary PM4. That way, you miss the infraorbital canal and enter the nasal cavity just dorsal to the hard palate. You can feel the Stryker drill go through maxilla, then air, then vomer, then air again and finally through maxilla on the other side. The pin ended up in a perfect position, and the pin was cut short, and then the Gelpi retractors were released. The right side maxilla felt stable, and the occlusion returned to pre-trauma occlusion. The pin ends were shortened, and the mucoperiosteal flaps were sutured.
The lateral luxation of the right maxillary canine tooth (104) was stabilised with a figure of eight wiring technique using the left canine tooth (204) as an anchor. The wire was held in place by light-cured composite resin. A fentanyl patch was applied, and finally, Tyco was discharged two days later, able to eat vitamised can food.

The Result
The owner was given strict instructions regarding eating, resting and not playing with the other dog. Tyco was seen by us a week later, and then due to distance from North Coast Veterinary Specialists, the referring veterinarian saw Tyco on a weekly basis.
The owner sent me a video (3 weeks post-surgery) of Tyco eating his vitamised food. He was showing no discomfort and appeared happy.
Finally, we saw Tyco again approximately five weeks post-surgery to have intraoral radiographs taken to assess fracture healing and also to see if there were any radiographic changes around the apex of tooth 104. The incisive, maxillary, vomer, lacrimal and nasal fractures had healed based on clinical examination and intraoral radiographs. Tooth 104 still appeared to have a vital pulp based on intraoral radiographs. The trans-maxillary pin was removed using a Jacobs chuck. The figure eight wire and dental composite resin were removed as well.
Tyco went home that night and is currently doing very well. Tyco’s after-surgery care requires soft food for another two weeks and then can go onto dry food but no bones.
Tooth 104 needs to be radiographically reassessed in 6 months to monitor pulp vitality in this tooth.
Tyco is one lucky dog.
For more information on pet emergencies and our emergency animal clinic, contact NCVS at ncvs.net.au or by calling (07) 5453 7555.

